

Sending multiple emails in one go on your iPhone can save time. It’s a useful feature for busy people.
Managing emails efficiently is crucial today. Whether you need to send updates to a team or share information with friends, learning to send multiple emails on iPhone is a handy skill. This guide will show you how to do it step-by-step.
With these tips, you can streamline your communication on your iPhone, making your email management smoother and faster. Ready to make your emailing more efficient? Let’s dive in!
Contents
- 1 Introduction To Sending Multiple Emails
- 2 Common Scenarios For Multiple Emails
- 3 Setting Up Your iPhone For Email
- 4 Ensuring Proper Email Settings
- 5 Using The Mail App
- 6 Adding Multiple Recipients
- 7 Utilizing Email Drafts
- 8 Attaching Files And Media
- 9 Organizing Your Email Content
- 10 Managing Sent Emails
- 11 Tips And Best Practices
- 12 Frequently Asked Questions
- 13 Conclusion
Introduction To Sending Multiple Emails
Efficient email management can save time and reduce stress. Sending multiple emails in one go on your iPhone is a useful skill. This guide will show you how to do it. With a few steps, you can streamline your communication.
Importance Of Email Efficiency
Email efficiency is crucial in both personal and professional settings. Handling many emails at once can be overwhelming. By sending multiple emails in one go, you save time. You also reduce the chance of missing important messages. This method helps keep your inbox organized.
Here are some key points to consider:
- Time-saving: You send multiple emails at once.
- Organized inbox: Fewer individual emails to track.
- Reduced stress: Less email clutter means less stress.
Common Scenarios For Multiple Emails
There are many situations where sending multiple emails is beneficial. For example, you might need to send meeting reminders to a team. Or share project updates with several stakeholders. Here are some common scenarios:
- Sending invitations for an event
- Sharing documents with a group
- Sending newsletters to subscribers
- Sending reminders or follow-ups
Each of these scenarios shows the need for efficient email handling. Sending multiple emails at once can simplify your communication process.
Setting Up Your iPhone For Email
Setting up your iPhone for email is a simple process. It ensures you stay connected with your contacts. You can easily send multiple emails in one go. Follow these steps to configure your iPhone for email.
Configuring Email Accounts
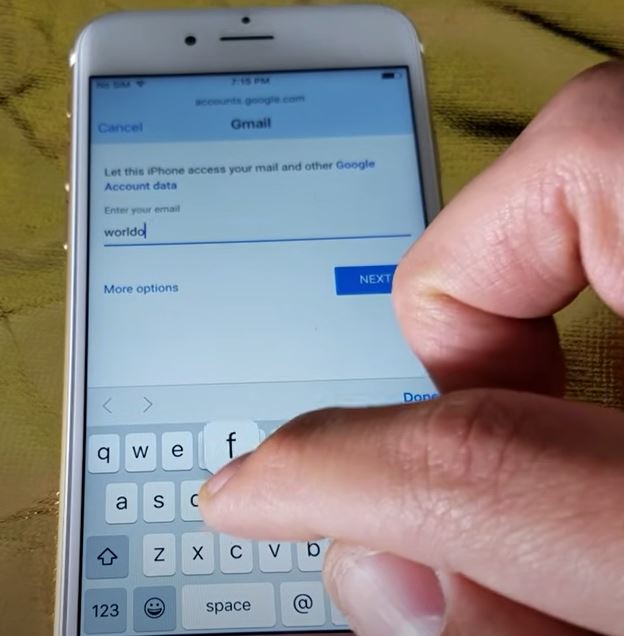
First, you need to configure your email accounts. Open the Settings app on your iPhone. Scroll down and tap on Mail. Then, select Accounts. Here, you can add a new account or manage existing ones.
To add a new account, tap on Add Account. Choose your email provider from the list. Enter your email address and password. Follow the on-screen instructions to complete the setup. Your email account is now configured.
Ensuring Proper Email Settings
Ensuring proper email settings is crucial for sending multiple emails. Go back to the Mail settings. Tap on your email account. Check the settings for Outgoing Mail Server. Ensure it is correctly configured.
Verify the SMTP settings. Make sure the server is turned on. Check the primary server settings. Ensure the username and password are correct. This ensures smooth email delivery.
Next, check the Mail app settings. Go to Settings > Mail. Scroll down to the Composing section. Ensure the settings are as per your preference. This includes signature, default account, and more.
With these settings in place, your iPhone is ready for email. You can now send multiple emails efficiently.
Using The Mail App
The built-in Mail app on your iPhone is a powerful tool for managing your emails. It allows you to send multiple emails in one go. This can save you time and make your communication more efficient. Here’s how you can use the Mail app to send multiple emails in one email.
Creating A New Email
First, open the Mail app on your iPhone. Tap the compose icon, usually located in the bottom right corner. This will open a new email draft. Here, you can type your message.
Ensure your email is clear and to the point. The subject line should be concise but descriptive. This will help your recipients understand the email’s purpose. Tip: touch and hold Send to schedule delivery with Send Later (iOS 16+). See Apple’s guide: Send email in Mail on iPhone.
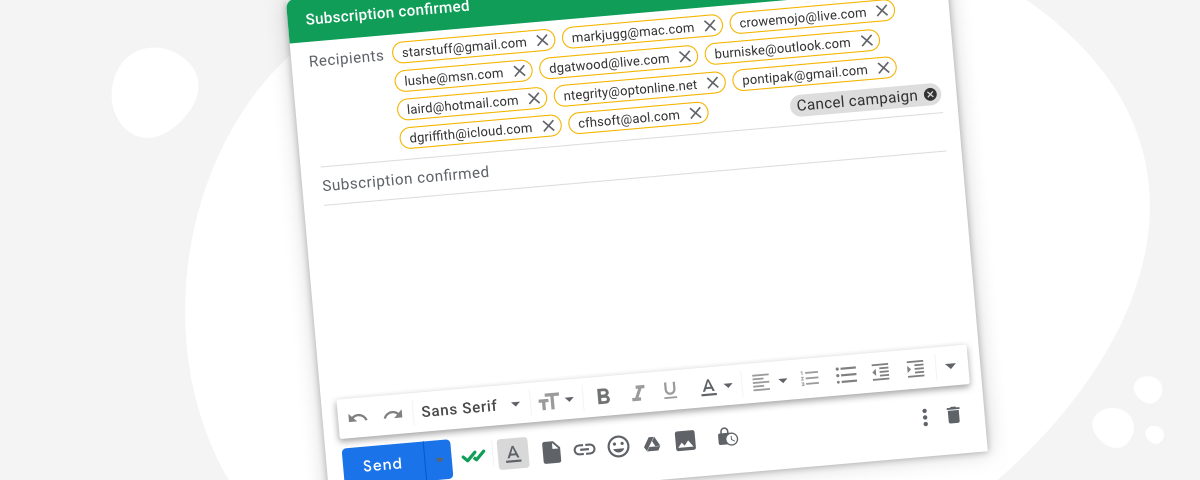
Adding Multiple Recipients
To send your email to multiple people, you need to add multiple recipients. Tap the To: field at the top of your email draft. Here, you can enter the email addresses of your recipients.
You can separate each email address with a comma. You can also add recipients in the Cc: or Bcc: fields. Tap these fields to add more email addresses.
Using the Cc: field sends a copy to additional recipients. Using the Bcc: field hides recipients’ email addresses from each other. For Apple’s step-by-step, see Send email in Mail on iPhone.
Remember to review your email before sending. Ensure all email addresses are correct. Once satisfied, tap the Send button.
Utilizing Email Drafts
Sending multiple emails in one email on your iPhone can be a game-changer for productivity. One of the easiest methods to do this is by utilizing email drafts. This allows you to compose, save, and send multiple emails efficiently.
Saving Drafts
Saving drafts is the first step. Here’s how to do it:
- Open the Mail app on your iPhone.
- Compose a new email by tapping the compose icon.
- Write your email as usual. Add the recipient, subject, and message.
- Tap Cancel in the upper left corner.
- Select Save Draft to keep your email.
Your draft is now saved and can be accessed later. (Mail also auto-saves drafts; see Apple’s guide: Save a draft in Mail on iPhone.)
Editing And Sending Drafts
Once your drafts are saved, you can easily edit and send them:
- Open the Mail app and go to the Drafts folder.
- Select the draft you want to edit.
- Make necessary changes to your email.
- Tap the Send button to send your email.
Repeat these steps for each draft you need to send.
Utilizing email drafts can save time and increase productivity. It’s a simple and effective way to manage multiple emails on your iPhone.
Attaching Files And Media
Sending multiple emails in one email on your iPhone can be a game-changer. It helps in organizing and sharing information swiftly. Attaching files and media is a crucial part of this process. This guide will help you understand how to do it efficiently.
Adding Attachments
Adding attachments on your iPhone is straightforward. Open your email app and start composing a new message. Tap the screen where you want to insert the attachment. Look for the paperclip icon or the “Add Attachment” option. Tap it.
A menu will pop up, giving you options like Photos, Files, or Dropbox. Choose the location where your file is stored. Select the file you want to attach. You can attach multiple files this way. You can also scan a paper document to PDF directly from Mail; see Add email attachments in Mail on iPhone.
After selecting your files, they will appear in your email. Make sure to review the attachments to ensure they are correct.
Ensuring Compatibility
Ensuring that your attachments are compatible with the recipient’s device is crucial. Not all file formats are supported on all devices. Here’s a quick guide:
| File Type | Best Practice |
|---|---|
| Universally readable on most devices. | |
| DOCX | Great for text documents; ensure the recipient has compatible software. |
| JPG/PNG | Ideal for images. These formats are widely supported. |
| ZIP | Useful for compressing multiple files; ensure the recipient can unzip files. |
Stick to common file types to avoid compatibility issues. If unsure, ask the recipient about their preferred file formats.
Following these steps ensures your attachments are easy to access and view. Happy emailing!
Organizing Your Email Content
Organizing your email content is crucial when sending multiple emails in one email on your iPhone. It helps your messages look professional and easy to read. By organizing your content, you can ensure that your recipients understand your message clearly. Let’s dive into some key tips for organizing your email content effectively.
Formatting Emails
Formatting your emails properly helps in making your content visually appealing. A well-formatted email is easier to read and understand. Here are some tips:
- Use short paragraphs to break up the text.
- Include bullet points for lists to make them stand out.
- Use bold text for important keywords.
- Keep sentences concise and to the point.
Consider using tables to organize complex information. Tables can help in presenting data in a neat and structured manner. Here’s an example:
| Item | Description |
|---|---|
| Meeting Date | October 5, 2023 |
| Location | Conference Room B |
Using Templates
Using templates can save time and ensure consistency in your emails. Templates allow you to reuse common email structures and formats. Here’s how to create and use templates:
- Write a draft email with the structure you need.
- Save the draft as a template in your email app.
- Use the template for similar emails in the future.
Note: The built-in Mail app on iPhone doesn’t include formal “templates,” but you can keep a reusable draft and duplicate its contents when needed (see Save a draft in Mail on iPhone).
Managing Sent Emails

Managing sent emails on your iPhone is crucial for staying organized. With the right steps, you can track, resend, and forward emails efficiently. This guide will show you how to manage your sent emails effectively.
Tracking Sent Emails
Tracking your sent emails helps you keep tabs on your communications. Follow these steps to track your sent emails:
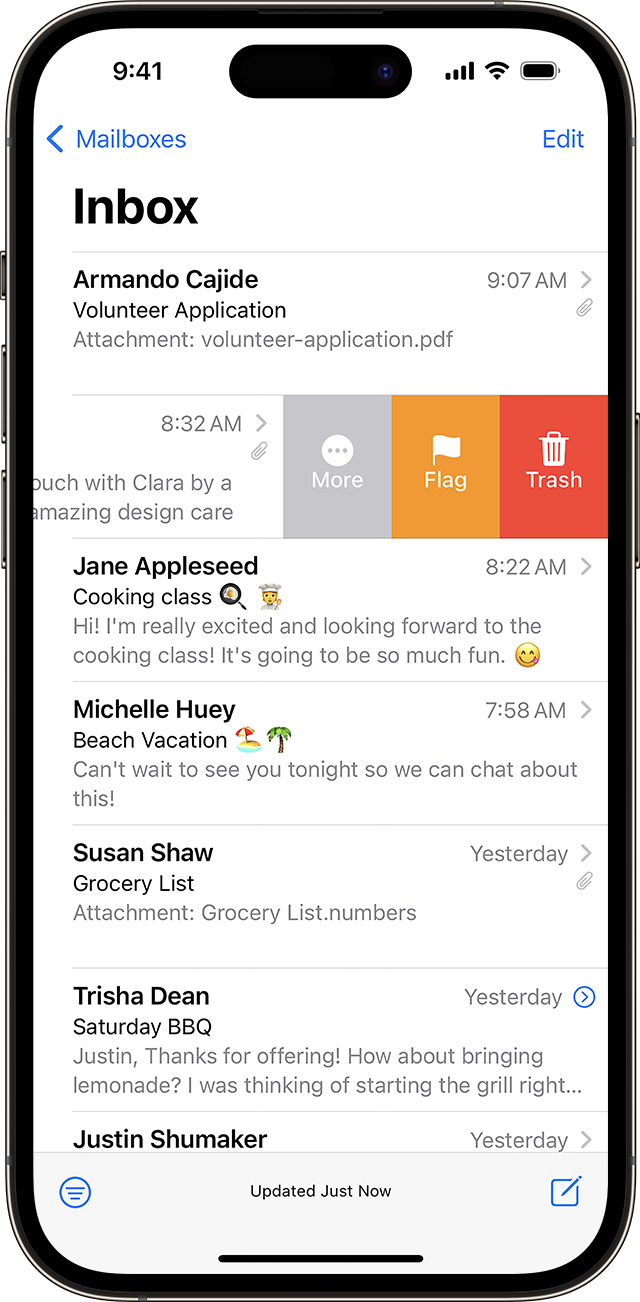
- Open the Mail app on your iPhone.
- Tap on the “Mailboxes” option at the top-left corner.
- Scroll down and select the “Sent” folder.
- Review the list of sent emails to find the one you need.
Use the search bar to find specific emails quickly. Enter keywords or recipient’s name to filter results.
Resending And Forwarding
Resending and forwarding emails are vital for ensuring important messages are delivered. Here’s how to resend and forward emails on your iPhone:
- Open the Mail app and navigate to the “Sent” folder.
- Locate the email you want to resend or forward.
- Tap on the email to open it.
- For resending, tap the “Reply” button and select “Send Again” (availability can vary by iOS version).
- For forwarding, tap the “Forward” button, enter the new recipient’s email address, and tap “Send”.
Ensure the email content is accurate before resending or forwarding. Add any necessary updates or notes to avoid confusion.
Tips And Best Practices
Sending multiple emails in one email on an iPhone can be very efficient. It helps you communicate with several people at once. Here are some tips and best practices to make this task easier and more effective.
Avoiding Common Mistakes
When sending multiple emails, avoid common mistakes. Here are some tips:
- Double-check email addresses: Ensure all email addresses are correct. Typos can lead to undelivered messages.
- Use the Bcc field: Place recipients in the Bcc field to prevent a “reply all” situation.
- Keep it concise: Write clear and concise messages to avoid confusion.
Maintaining Privacy And Security
Maintaining privacy and security is crucial. Follow these best practices:
- Use strong passwords: Protect your email account with a strong password.
- Enable two-factor authentication: Add an extra layer of security to your email account.
- Avoid sharing sensitive information: Do not include personal or sensitive information in your emails.
- For bulk/marketing sends: follow U.S. CAN-SPAM Act guidance (include an unsubscribe option, accurate sender info, etc.).
By following these tips and best practices, you can send multiple emails in one email on your iPhone effectively. Remember to always prioritize privacy and security.
Frequently Asked Questions
How Do I Send Multiple Emails At Once On iPhone?
To send multiple emails at once, use the Mail app’s BCC feature. Add all recipient addresses in the BCC field. Compose your message and hit send. For details, see Apple’s Send email in Mail on iPhone.
Can I Send Group Emails On My iPhone?
Yes, you can send group emails by entering multiple recipients or using a contact list created with your email provider. To build reusable contact lists for iCloud, create them on iCloud.com Contacts (lists sync to your iPhone). The iPhone Contacts app itself doesn’t create groups.
How Do I Create Email Groups On iPhone?
Create contact lists using iCloud.com Contacts on a computer or iPad; they’ll sync to your iPhone. (Apple doesn’t offer group creation directly in the iPhone Contacts app.)
Is There A Limit To Email Recipients On iPhone?
Yes, limits depend on your email service. For example, iCloud Mail allows up to 500 recipients per message and 1,000 recipients per day (Apple Support, 2025-03-17). Check your provider’s rules to avoid delivery issues.
Conclusion
Sending multiple emails in one on your iPhone is simple. Follow the steps outlined for a smooth process. This method helps save time and keeps your inbox organized. Remember to use the Mail app for the best results. Practice makes perfect, so try it a few times.
Soon, it will become second nature. Enjoy the convenience of managing your emails efficiently. Stay productive and make the most of your iPhone’s capabilities. Happy emailing!