

Embedding SendFox into your WordPress site is simple! This guide provides easy, step-by-step instructions to connect your email marketing with your website, helping you grow your subscriber list and engage your audience effectively, even if you’re a beginner.
How to Embed SendFox: Your Proven WordPress Guide
If you’re a business owner or creator, you’ve probably heard about email marketing. It’s a fantastic way to connect with your audience. SendFox is a popular tool, especially for its affordability and simplicity. But getting it to work smoothly with your WordPress website can sometimes feel a bit tricky. Many people wonder about the best way to connect their website to their email list. This guide is here to make that process super easy for you. We’ll walk through exactly how to embed SendFox into your WordPress site, step-by-step, so you can start building your email list right away.
Contents
- 1 Why Embed SendFox on Your WordPress Site?
- 2 Getting Started: What You’ll Need
- 3 Step-by-Step: How to Embed SendFox to WordPress
- 4 Extra Tips for Success with SendFox on WordPress
- 5 Common Mistakes to Avoid When Embedding SendFox
- 6 Frequently Asked Questions (FAQ) About Embedding SendFox
- 7 Conclusion: Start Growing Your Email List Today!
Why Embed SendFox on Your WordPress Site?
Think of your WordPress website as your digital storefront. It’s where people find you, learn about your business, and maybe even buy your products or services. Embedding SendFox on your site is like putting a sign-up sheet right at the entrance. It makes it super easy for visitors to join your email list, which is one of the most valuable assets you can build for your business. When you have an email list, you can directly communicate with people who are interested in what you offer. You can share updates, promotions, new content, and build a real relationship. Embedding SendFox is the bridge that connects your website visitors to your direct communication channel.
Getting Started: What You’ll Need

Before we dive into the steps, let’s make sure you have everything ready. It’s pretty straightforward!
- A SendFox Account: If you don’t have one yet, it’s easy to sign up. SendFox offers a great free plan to get you started.
- Your WordPress Website: You should have access to your WordPress dashboard.
- A SendFox Smart Form or Landing Page Link: You’ll create this within your SendFox account. We’ll cover how to get this in the steps below.
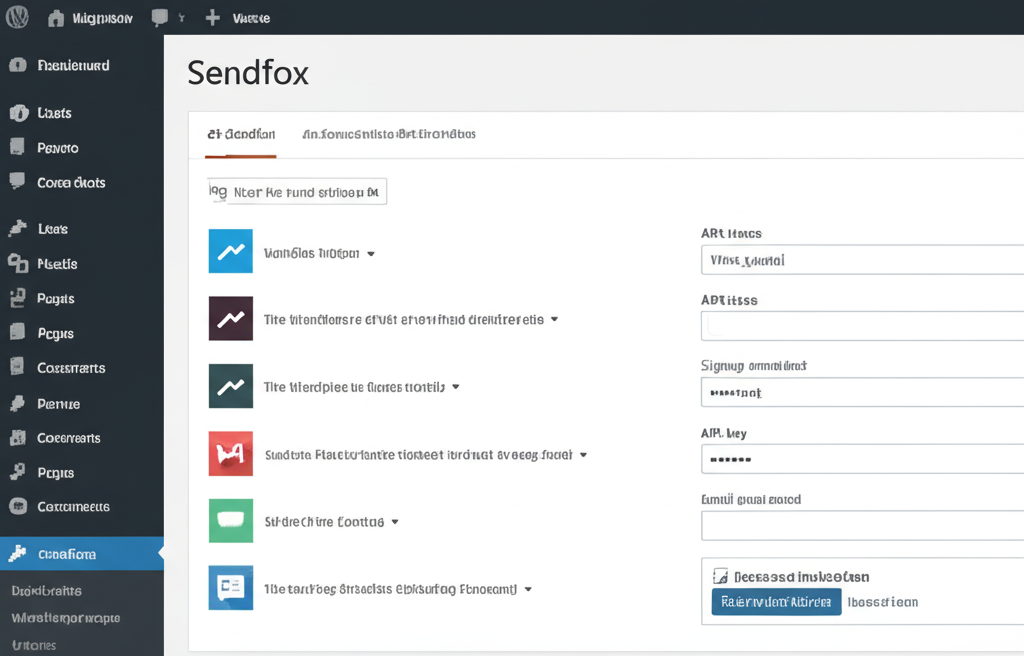
Step-by-Step: How to Embed SendFox to WordPress
Let’s break down the process into simple, manageable steps. You’ll be embedding SendFox in no time!
Step 1: Create Your SendFox Smart Form or Landing Page
First, you need something for people to sign up with. SendFox makes this easy with Smart Forms and Landing Pages.
- Log in to your SendFox account.
- Navigate to the “Landing Pages” or “Forms” section (the exact wording might vary slightly, but look for where you create ways for people to subscribe).
- Click “Create New Landing Page” or “Create New Form.”
- Design Your Form/Page: SendFox offers simple customization options. You can usually add your logo, choose colors that match your brand, and write a compelling headline and description to encourage sign-ups. Keep it clear and focused on the benefit of joining your list.
- Set Up Your Welcome Email (Optional but Recommended): SendFox allows you to send an automatic welcome email. This is a great way to thank new subscribers and deliver any promised freebie (like an ebook or discount code).
- Save Your Form/Page: Once you’re happy with it, save your creation.
Why this matters: This form or landing page is what your visitors will see and interact with to join your email list. Making it attractive and clear increases your chances of getting more subscribers.
Step 2: Get Your SendFox Embed Code or Link
Now you need the actual code or link that you’ll use on your WordPress site.
- Find your created Form or Landing Page in SendFox.
- Look for the “Share” or “Embed” options. SendFox typically provides two main ways to integrate:
- A direct link to your landing page: This is a URL you can link to from buttons or text on your WordPress site.
- An embeddable HTML code for your form: This code allows you to place the sign-up form directly onto a page or post on your WordPress site.
- Copy the relevant code or link. If you want the form directly on your page, copy the HTML embed code. If you prefer a button that leads to a separate page, copy the landing page link.
Why this matters: This is the key piece of information that connects SendFox to your WordPress site.
Step 3: Add the SendFox Form to Your WordPress Page or Post
This is where you’ll actually put your SendFox form onto your website.
- Log in to your WordPress dashboard.
- Go to “Pages” or “Posts” and choose the page or post where you want to add the SendFox form. If you want to create a dedicated sign-up page, click “Add New” for either Pages or Posts.
- Switch to the “Text” or “Code” Editor: In the WordPress editor (Gutenberg or Classic), you’ll need to access the code view.
- For Gutenberg Editor: Add a new “Custom HTML” block.
- For Classic Editor: Click the “Text” tab at the top of the editing window (next to “Visual”).
- Paste the SendFox Embed Code: Paste the HTML code you copied from SendFox directly into the code editor where you want the form to appear.
- Switch back to the “Visual” or “Preview” mode to see how the form looks.
- Update or Publish your Page/Post.
Why this matters: This step integrates the sign-up functionality directly into your website content, making it easy for visitors to subscribe.
Step 4: Add a SendFox Sign-Up Button (Alternative Method)
If you prefer to have a button that links to your SendFox landing page, here’s how:
- Log in to your WordPress dashboard.
- Go to “Pages” or “Posts” and select the page or post where you want the button.
- In the editor, highlight the text you want to turn into a button (e.g., “Join My Newsletter,” “Get Updates”).
- Click the “Link” icon in the editor toolbar.
- Paste your SendFox landing page URL into the link field.
- Click the “Apply” or “Enter” button to create the link.
- Update or Publish your Page/Post.
- Optional: Style the text as a button. You might use a page builder or custom CSS to make the linked text look more like a button for better visibility.
Why this matters: This is a simpler method if you don’t need the form directly on the page but want a clear call to action.
Step 5: Test Your Embedded SendFox Form
The most crucial step is to make sure it works!
- Go to the front end of your WordPress website and navigate to the page or post where you embedded the SendFox form or button.
- Try signing up yourself using a different email address (not your admin one if possible).
- Check your SendFox account to see if the new subscriber appeared in your list.
- Check the inbox of the test email address to see if you received the welcome email (if you set one up).
Why this matters: Testing ensures everything is connected correctly and your subscribers will actually be added to your list and receive your communications.
Extra Tips for Success with SendFox on WordPress
Embedding is just the first step! Here are a few tips to make your email list building even more effective:
- Clear Call to Action (CTA): Make it obvious what you want people to do. Use clear headings like “Subscribe for Exclusive Tips” or “Get Your Free Guide.”
- Offer an Incentive: People are more likely to subscribe if they get something valuable in return. This could be a discount, a free ebook, a checklist, or early access to content.
- Strategic Placement: Don’t just put the form anywhere. Place it on your homepage, blog posts, contact page, or even in your website’s footer or sidebar.
- Mobile-Friendly Design: Ensure your SendFox form and landing page look good and function well on all devices, especially smartphones. SendFox forms are generally responsive, but always double-check.
- Consistent Branding: Make sure your SendFox forms and emails match the look and feel of your WordPress website for a cohesive user experience.
Common Mistakes to Avoid When Embedding SendFox
Even with a simple process, a few common missteps can hinder your success:
- Not Testing Thoroughly: Failing to test your sign-up process means you might be missing out on subscribers without even knowing it.
- Confusing or Hidden Forms: If your form is hard to find or the purpose isn’t clear, people won’t sign up.
- Overly Complicated Forms: Only ask for essential information (like an email address). More fields mean fewer sign-ups.
- Ignoring Welcome Emails: A welcome email is your first impression. Missing this opportunity can lead to lower engagement.
- Not Promoting Your Sign-Up: Don’t just embed it and forget it. Actively encourage people to join your list.
Frequently Asked Questions (FAQ) About Embedding SendFox
Here are some common questions beginner users have:
Do I need a custom domain email to use SendFox?
No, you don’t need a custom domain email to sign up for SendFox or to use its services. You can start with a free Gmail or Yahoo account. However, using a custom domain email (like [email protected]) for your sending address in SendFox can build more trust and professionalism with your subscribers.
How many subscribers can I start with on SendFox?
SendFox is known for its generous free plan. You can typically start with a significant number of subscribers, often up to 1,000, on their free tier, which is fantastic for beginners and small businesses.
Can I automate emails with SendFox on the free plan?
Yes, SendFox’s free plan usually includes basic automation features, such as welcome emails that are sent automatically when someone subscribes to your list.
Is SendFox easy to use for beginners?
Absolutely! SendFox is designed with simplicity in mind. Its interface is straightforward, making it one of the most beginner-friendly email marketing platforms available.
What if I want to embed SendFox on multiple pages?
You can embed your SendFox form on as many WordPress pages or posts as you like. Just repeat the steps for embedding the HTML code into each location.
What’s the difference between a SendFox landing page and an embedded form?
A landing page is a standalone webpage hosted by SendFox that’s solely for collecting subscribers. An embedded form is a small signup box that you place directly within an existing page or post on your WordPress site.
Will embedding SendFox slow down my WordPress website?
Generally, no. SendFox forms and landing pages are lightweight. As long as your WordPress site is reasonably optimized, embedding a SendFox form should not noticeably impact your site’s loading speed.
Conclusion: Start Growing Your Email List Today!
You’ve now learned how to embed SendFox to WordPress, a crucial step in building a direct connection with your audience. By following these simple steps, you can easily integrate your email marketing efforts with your website, making it effortless for visitors to join your growing community. Remember to test your forms, offer value, and place your sign-up opportunities strategically. Don’t wait – get your SendFox form embedded today and start building those valuable relationships!